creating a local certificate authority
Introduction
Although today it is pretty easy to deploy a temporary environment in the cloud for study or run some tests, I’m a little old school and still use a small computer as a home lab, nothing complex, just and old Dell OptiPlex Micro with a Core i5, 16 GB of RAM and 500 GB of disk.
In this small server I usually run some virtual machines using KVM/Virt-Manager or Docker containers where I deploy some services and applications that I want to learn, to make some proofs of concept or perform some tests with applications that I already use both at work and in side projects.
Since I’m in a controlled environment, I end up neglecting security issues a bit and don’t use SSL/TLS certificates with the services and in the communitcation between them. This is something that should not happen in the real world and frequently leads to extra work with the configurations and the deploy when it is time to implement stuff in production.
A simple way to get used to always working with certificates is to create a local Certificate Authority to sign certificates for applications and services.
Creating a local Certificate Authority (CA)
The process to create a local CA is very simple and is made up of two steps, the only requirement is to have openssl installed on a machine.
- Create a private key for the Certificate Authority.
- Create a root certificate using this private key.
We can create the private key with the following command.
# openssl genrsa -des3 -out localCA.key 2048
This command will ask that you create a pass phrase for this private key, this same pass phrase will be asked later when creating the root certificate.
To create the root certificate we use the following command.
# openssl req -x509 -new -key localCA.key -sha256 -days 7300 -out localCA.pem
The parameter -x509 means that we want to generate a self-signed root certificate and the parameter -days indicates for how many days this certificate will be valid, this command will also ask you some questions for the certificate, like the two letters country code, the state, the city etc.
After running the two commands we will end up with the two following files:
localCA.key- the private key for the local CA.localCA.pem- the root certificate for the local CA.
Those two files will be used later to sign the certificates for services and applications.
Creating certificates for services an applications
Now that we have a local CA, we can create certificates for services and applications, in this case we will create a certificate for a web server that will answer in the local hostname dev.lab.
The process is very similar to the one that we used to create the private key and the root certificate.
First we create a private key for the application.
# openssl genrsa -out dev.lab.key 2048
Then we use this key to generate a csr, a certificate signing request, which is a request for the local CA to sign this certificate.
# openssl req -new -key dev.lab.key -out dev.lab.csr
This command will also ask you some questions, basically the same ones that were asked when creating the root certificate.
Before we can sign this certificate with our local CA, we need an auxiliary file with the DNS information of our web server.
We will create the file dev.lab.ext with the following content.
authorityKeyIdentifier=keyid,issuer
basicConstraints=CA:FALSE
keyUsage = digitalSignature, nonRepudiation, keyEncipherment, dataEncipherment
subjectAltName = @alt_names

[alt_names]
DNS.1 = dev.lab
Now we can use the local CA to sign this certificate with the following command. Note that the pass phrase will be asked again.
# openssl x509 -req -in dev.lab.csr -CA localCA.pem -CAkey localCA.key -CAcreateserial -out dev.lab.crt -days 7300 -sha256 -extfile dev.lab.ext
With the files dev.lab.crt and dev.lab.key we can configure our web server to use the certificate, in this case we are using the default configuration for NGINX.
server {
    listen       443 ssl http2 default_server;
    listen       [::]:443 ssl http2 default_server;
    server_name  dev dev.lab;
    root         /usr/share/nginx/html;
    ssl_certificate "/etc/nginx/certs/dev.lab.crt";
    ssl_certificate_key "/etc/nginx/certs/dev.lab.key";
    ssl_session_cache shared:SSL:1m;
    ssl_session_timeout  10m;
    ssl_ciphers HIGH:!aNULL:!MD5;
    ssl_prefer_server_ciphers on;
    include /etc/nginx/default.d/*.conf;

    location / {
    }

    error_page 404 /404.html;
    location = /404.html {
    }

    error_page 500 502 503 504 /50x.html;
    location = /50x.html {
    }
}
Validating the certificate
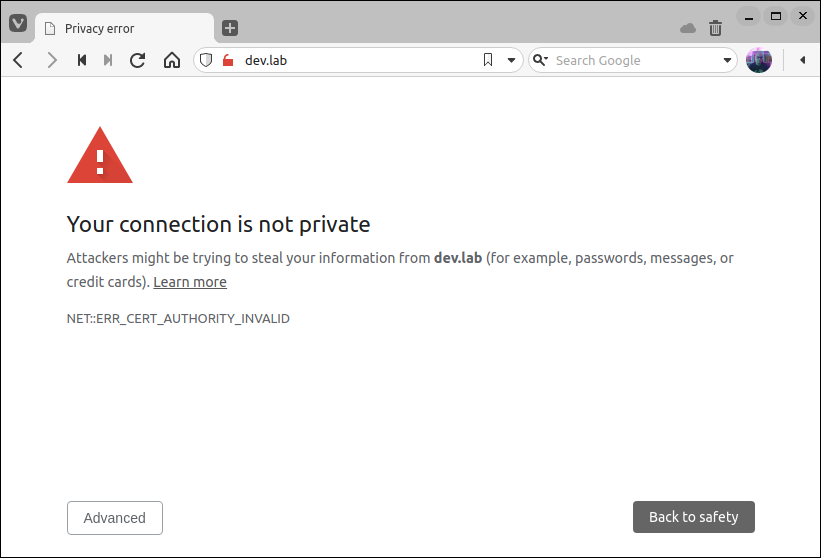
Accessing the hostname dev.lab in the browser we have a message saying that our connection is not private.

We see this message because although the web server is using a certificate, the browser does not trust the certificate authority that signed this certificate.
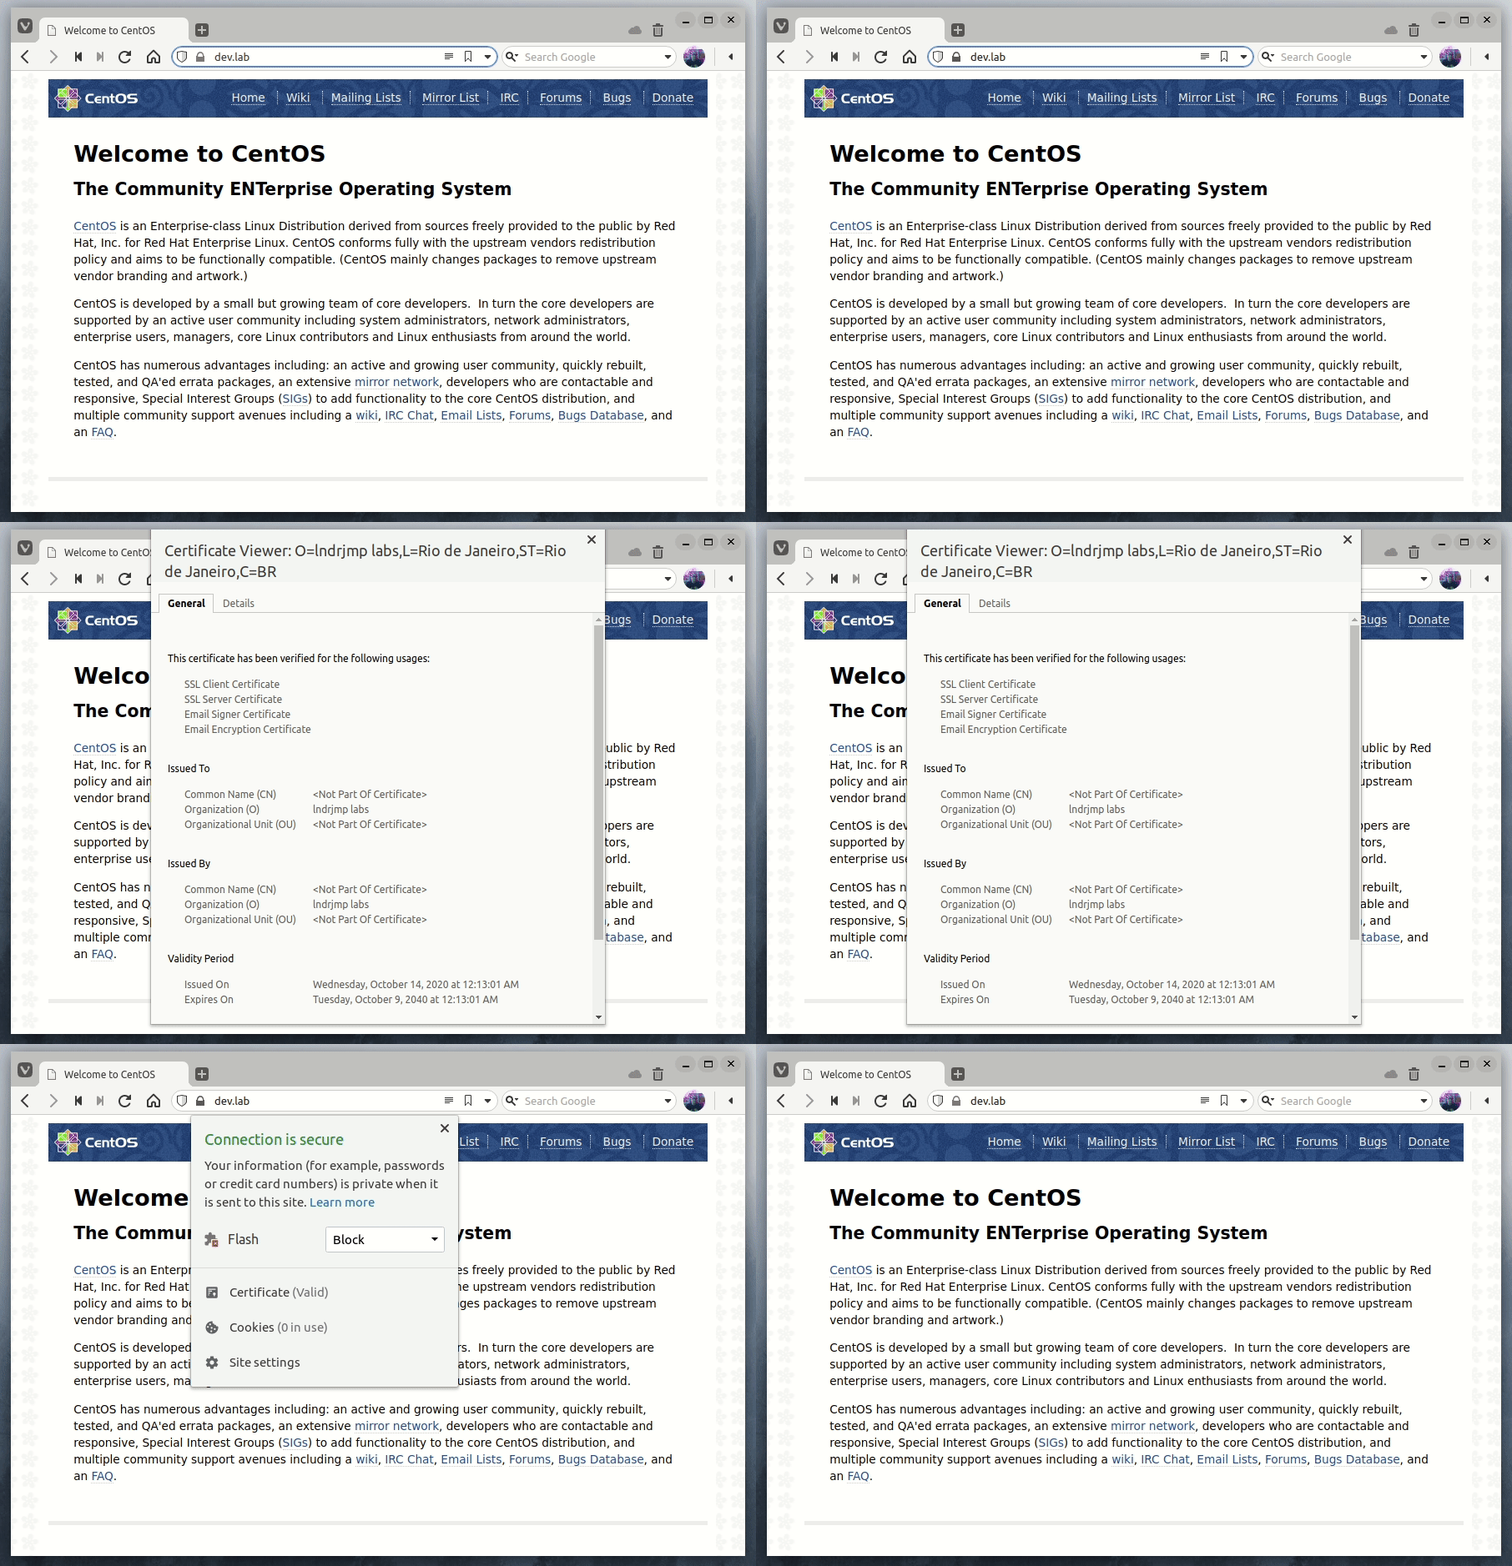
We can solve this problem by importing the root certificate that we created before, localCA.pem, directly into the browser.
After we imported the root certificate the browser now trusts the certificates signed by our local CA.
